Escape velocity from France has been obtained. It has been a lot of work, but next move: Germany! Seven months starting in January. Return to France? Yes. Scheduling is in the works for my return in a couple years.
Not long after I moved to France, due to new French friends, I joined a Patchwork club in a town near by. As the token English speaker I think I contributed a lot to the flavor of the club. It does not go without saying they contributed an amazing amount to my skills and how I look at quilting and sewing in general. I am forever grateful to know such a great group of ladies.
A total surprise at one of the last meetings was a presentation that was made to me by the members of the club to honor my time I was with them as a member. Truly I am touched. What a fun gift to receive.
Let me take you on a tour of my fabric book...
The club is called Bout Tissus which is a way of saying "beautiful fabric". In the small town where the club meets, at the end of the main street is a chateau of sorts. It is actually partly modern and has an interesting eccentric recent history. With a tower like that, it is a main focal point of the town. It can be seen from the toll road as one travels from Paris to Saarbrücken Germany.
 One of the members of the club thread painted the tower scene for the cover of my book. Wonderful isn't it?
Not long after I moved to France, due to new French friends, I joined a Patchwork club in a town near by. As the token English speaker I think I contributed a lot to the flavor of the club. It does not go without saying they contributed an amazing amount to my skills and how I look at quilting and sewing in general. I am forever grateful to know such a great group of ladies.
A total surprise at one of the last meetings was a presentation that was made to me by the members of the club to honor my time I was with them as a member. Truly I am touched. What a fun gift to receive.
Let me take you on a tour of my fabric book...
The club is called Bout Tissus which is a way of saying "beautiful fabric". In the small town where the club meets, at the end of the main street is a chateau of sorts. It is actually partly modern and has an interesting eccentric recent history. With a tower like that, it is a main focal point of the town. It can be seen from the toll road as one travels from Paris to Saarbrücken Germany.

You find yourself going back and forth comparing the two images.
Before opening the book, look at the really cool way it was bound. OK, now, lets page through the book.
The first block used scraps from one the projects the club did. Unique and beautiful. I enjoyed learning that technique! I am guilted into it, now I need to do something with my block of altered fabric I made. Mine looks very similar in colors to the one here, just not cut into circles,triangles and half moons yet.

Page 2, What is not to like. We made a chicken apron at one of the club meetings. you can see mine here. I love crazy patch. The block on the left is beautiful with all of its muted colors. The twisted log cabin block has movement that is wonderful.

Page 4. Butterflies, I am a sucker for butterflies. Add a lace butterfly to a flower applique, gorgeous! On the right, while in France my cats lived with my parents. Sadly both cats died this past year. One from cancer and one just plain old age. I will always think of Macy and Ginger when I see this block.

Page 5: On the right is a wonderfully embellished block. Pictures do not do it justice. The embroidery make it look rich and very touchable. On the left, now here is a fun one. The fabric transfer is of a postcard from 1915 of Jacobsplatz (Place St Jacques) in Metz France. 
Here is the colorized version of the postcard:
 In 1915 the "Virgin Mary on a Stick" did not exist. Near where it stands now, in the picture, is what appears to be a May pole. Superimposed onto the picture in the book, if you look closely is the silhouette of the Virgin Mary. Hard to see? Ok, here is a close up:
 Also highlighted is where I lived on the 4th (American),3rd (French) floor. You can tell the Virgin Mary was a prominent fixture outside of my window every day. It is interesting to see how little the square has changed, although it changed quite a bit between what you see now and what was then. The square was a flower market and an ugly parking lot in between. Now once again it is a square for the Christmas market in late November and most of December and a vibrant restaurant and cafe district the rest of the year. Loud to live there? Yes at times. but the people watching was the best part of living there.
Here is the colorized version of the postcard:
Page 6: Owls with button eyes. Love it! Notice the lace bits and the stamped fabric background. Just plain fun! On the right, again vintage lace this time used as a frame for a beautifully hand embroidered flower.

Page 7: The "Jardin de Grand Mere" or known in English "Grandmother's Flower Garden" block is a wonderful example of English paper piecing. The colors are perfect as it the use of a flowered button in the center. The use of it as an applique was part of the quilt the club made last year. On the right is a crazy patch block with kitty meows on it. More memories of my cats and one of the techniques we used at our meetings several years ago.

Page 8: Butterflies, vintage edging on a Jardin de Grand Mere flower. I think these ladies know me well. On the right the iconic and truly American Sunbonnet Sue done in red, white and blue, love it!

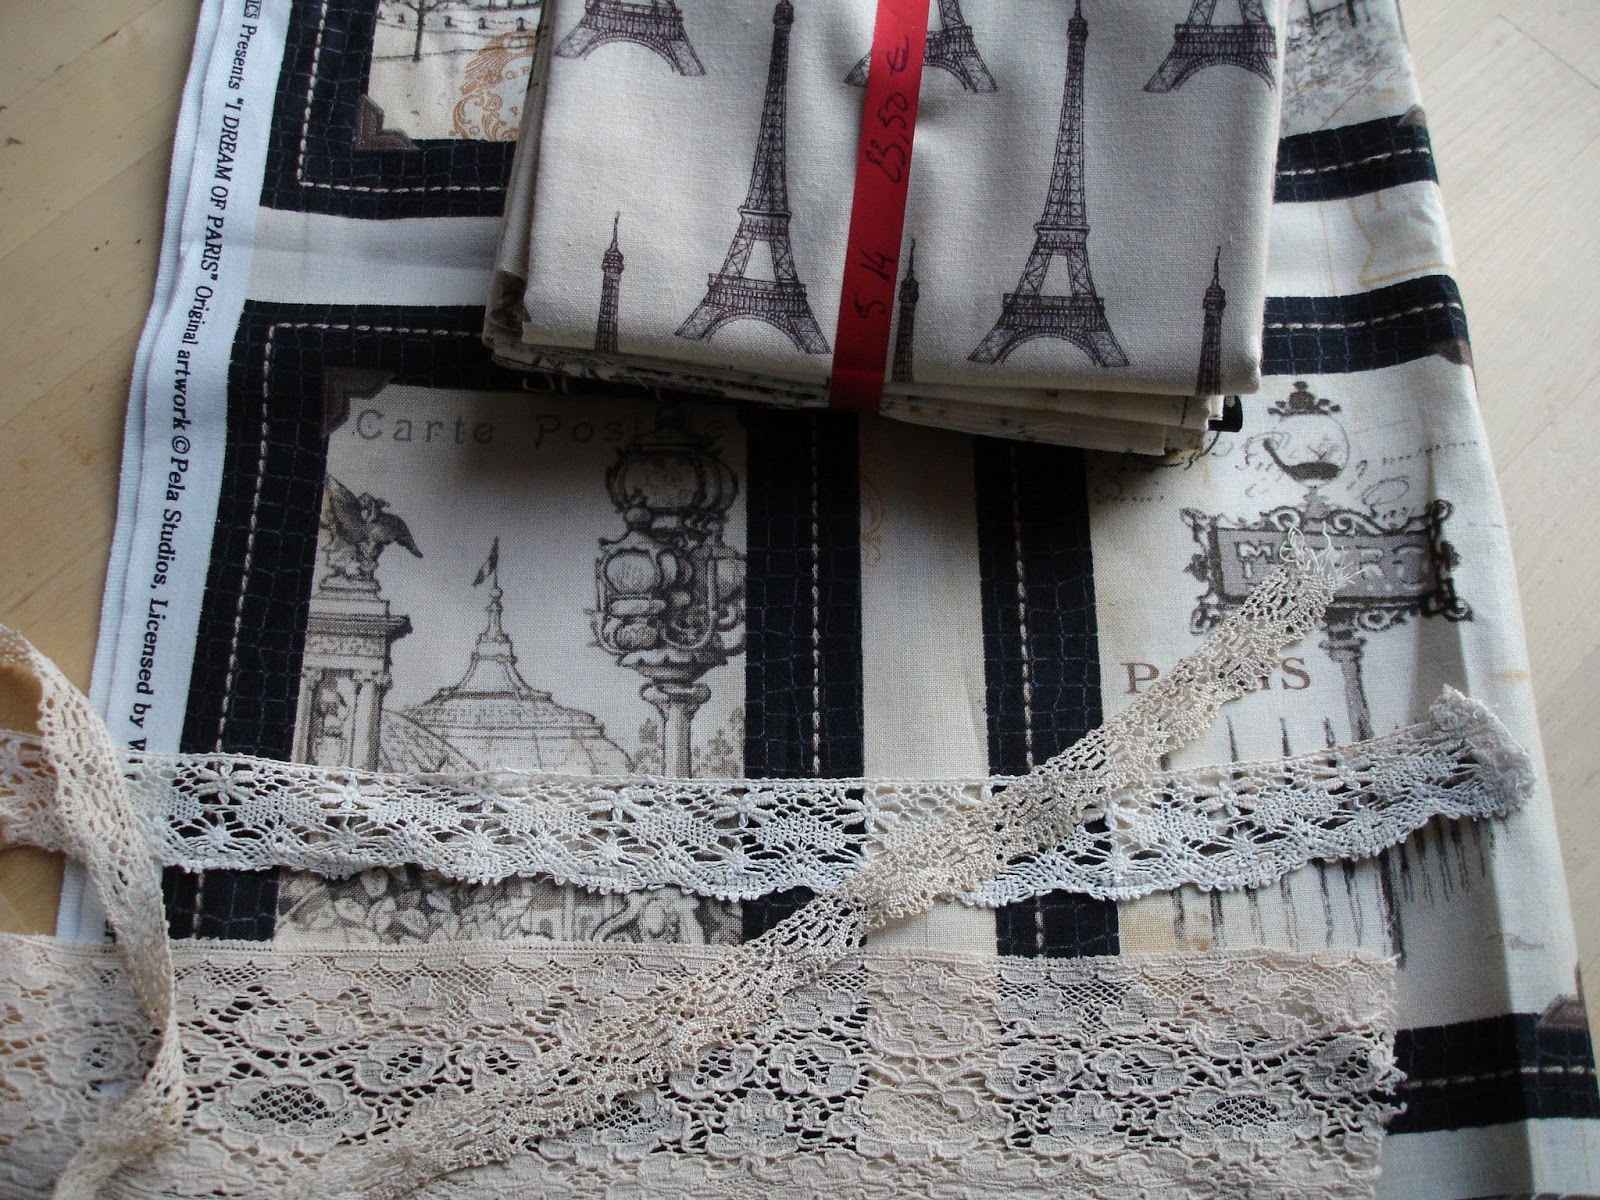
Page 9: Vintage lace show up yet again on both blocks. If you think France is awash with vintage lace, you would be correct. One of my favorite past times was to search out vintage lace for future projects. Easy to find once you figure out where to look. You just can't be picky about what you find and you need to buy it when you find it. The imaginative uses of the old lace just astounds me. Well done!

Page 10: Appliqued lucky clover and embroidery with a button accent in the center, on the left and more vintage lace on the right. I am sorry to say, why did I not think of doing this more? Check out the beading on the flower piece of lace. This addition adds so much interest to the block.


On the left is a Beautiful crazy patch block with hand embroidered seam lines, made even better with the addition of a butterfly/flower in the center and the vintage lace medallions. On the right is a sampler of Broderie Swiss (in French) or chicken tracks (horrible name in English).


On the left, another technique we learned at the club. Great mosaics can be fashioned using small pieces of fabric. We were encouraged to make pictures of animals of trees using this technique. On the right is the log cabin block beautifully done in shades of brown and off white.


Now the reason I did not make several of the projects at the club was because I was sewing other projects that I wanted to finish. The block on the left captures so what I was up to while I was in France. Nothing said we had to do every project, so many I stepped back and watched others create amazing things. On the right is an art form I am going to try - Hardanger. Several of the ladies in the club made the most amazing things. Here in this block is a small example of the work I so admired:

On the right, crazy patch, hand embroidery and butterflies. I love the use of rick rack and embroidery. These ladies know me well! The block is beautiful. On the left is embroidery mixed with vintage lace. And not just any vintage lace, The vintage lace is a reinforced battenburg lace.


On the left, a Sewing machine! Applique and embroidery. Notice the vintage lace along the 4 corners. I love the use of vintage and embroidery! The Machine just brings in that vintage feel. On the right is a really fun block using machine specialty stitches and couched metallic yarn. Across the top is eyelet edging and the use of blue both the dark stitches and the light fabrics makes your eye look over the entire block.

On the left, a bobbin lace heart in red, just beautiful and well made. the background is perfect to show it off. Love it! On the right is another well made bobbin lace heart with an oval vintage picture embroidery stitched to the background linen. The embroidered flower and ribbon work embroidery give this block a beautiful vintage look. I could stare at it all day.

Finally the last page, All of the members of the club in order who produced a block for my going away book. Thank you all of you!

As the book is closed, there are many ways to say goodbye, or rather until we meet again to both the patchwork club and to France. Planning says I will be back, but until then: